
Cleaning and instrument damage
Read the draft explanation
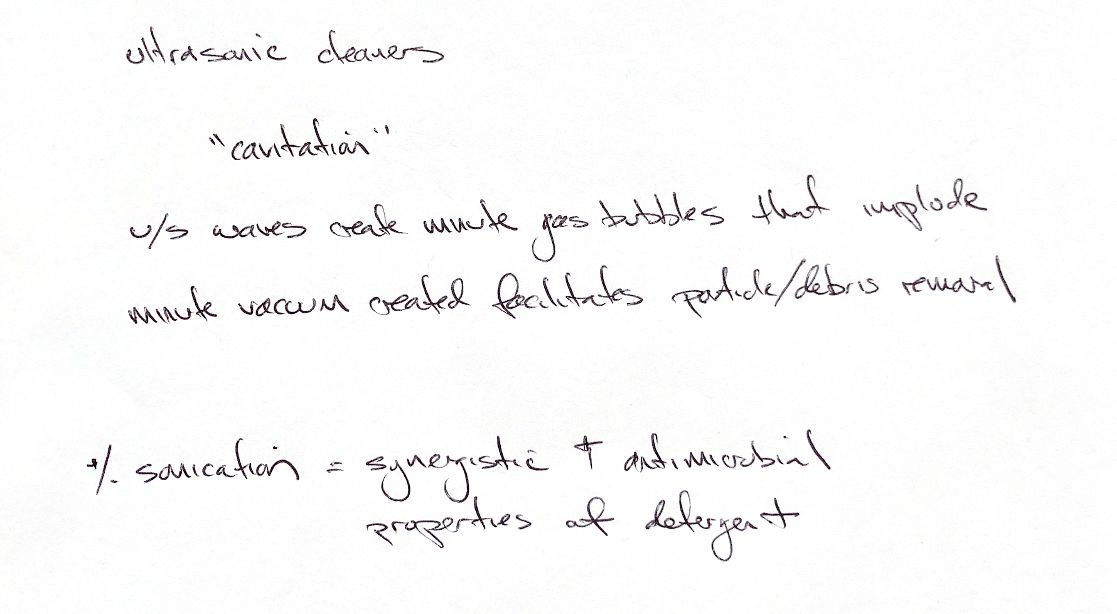
Ultrasonic cleaning uses cavitation. Ultrasound forms tiny gas bubbles in the cleaning fluid. The bubbles implode and create a local vacuum that helps lift particles and debris from the instrument. Sonication may also strengthen a detergent’s antimicrobial effect. Remove gross debris first, use a compatible solution, then rinse well. Cleaning prepares the instrument for sterilisation. It does not replace it.
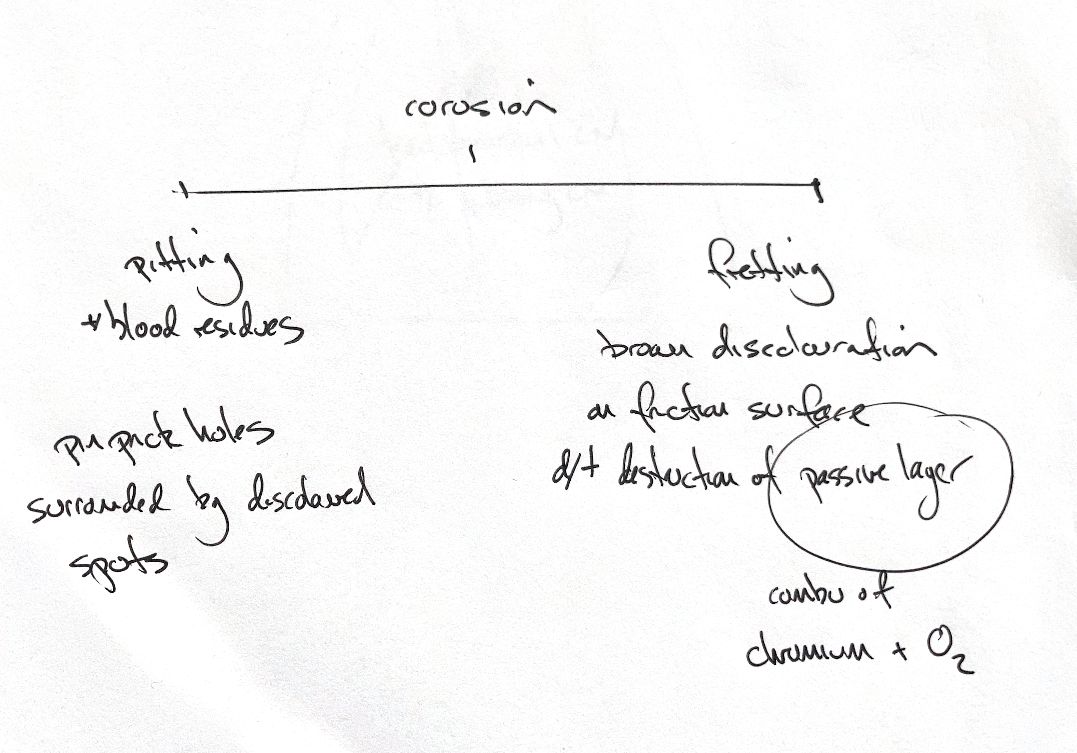
Pitting and fretting leave different clues. Pitting makes pinprick holes with discoloured spots around them. Blood residues and chlorides can trigger it. Fretting causes brown discolouration where metal surfaces rub. That rubbing wears through the passive layer that protects stainless steel.
Chromium reacts with oxygen to form this protective layer. Prompt removal of blood, thorough rinsing and complete drying help protect it. Correct lubrication reduces friction at joints and helps limit fretting. Check each instrument for cleanliness, damage and free movement before packing it.
References
Renberg & Claeys, “Sterilization,” and Boothe, “Instrumentation,” in Johnston & Tobias, Veterinary Surgery: Small Animal, 2nd ed. (PDF pp. 478, 520–521).