
TPLO rehab package
A quick phone reference for the home setup, weekly TPLO rehab stages, and real recovery examples. Keep following the written discharge instructions from the surgical team.
Start with why you opened this
Recovery toolkit
Printable plan and calendar
Use the printed plan for daily check-offs. Add the calendar for one weekly reminder to put the current week page on the fridge.
Home setup
Set up the house first
The rehab guide emphasizes making the house boring, grippy, and predictable before the dog comes home and while early recovery is underway.
Weekly plan and recovery examples
Use this with your printed plan
Follow the printed weekly plan from discharge first. Use this section to open the matching week for real examples, exercise setup, and update guidance.
Weeks 1-2Protection, incision checks, toileting outings, and gentle mobility
Days 1-3Walk: bathroom only, about 3-5 min at a time.
Stairs: necessary entry steps only, with leash and sling/towel support.
Stairs: necessary entry steps only, with leash and sling/towel support.
Start
Home icing
Use a towel barrier and keep the incision dry. Ice for 10-15 minutes, 3-4 times daily for the first 3 days at home, or follow the discharge instructions if they give different timing. Stop if your dog becomes distressed, the skin looks irritated, or the foot becomes cold or swollen.
Strict confinement in a crate, pen, or small room. No furniture, running, jumping, dog play, slippery floors, or strengthening work. Check the incision daily and keep the cone on unless directed otherwise.
Days 4-14Walk: controlled toileting outings up to about 5 min, 3-4 times daily.
Stairs: necessary entry steps only, with leash and sling/towel support.
Stairs: necessary entry steps only, with leash and sling/towel support.
Start
Gentle balance only
Begin gentle weight shifts or front-leg tripod balance on non-slip footing while your dog is calm. Do not lift the non-surgical hind leg unless the surgical or rehab team specifically shows you that version.
This is still a protection phase. Do not allow free roaming indoors. Keep the pace slow enough that your dog places the surgical foot down instead of hopping.
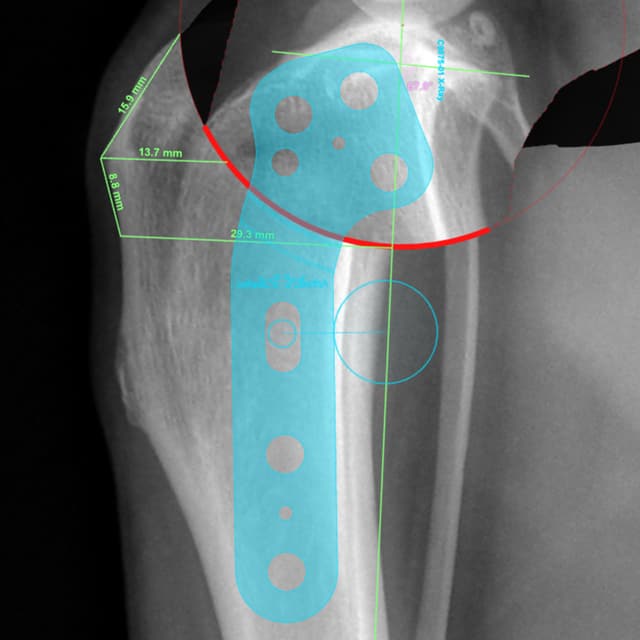
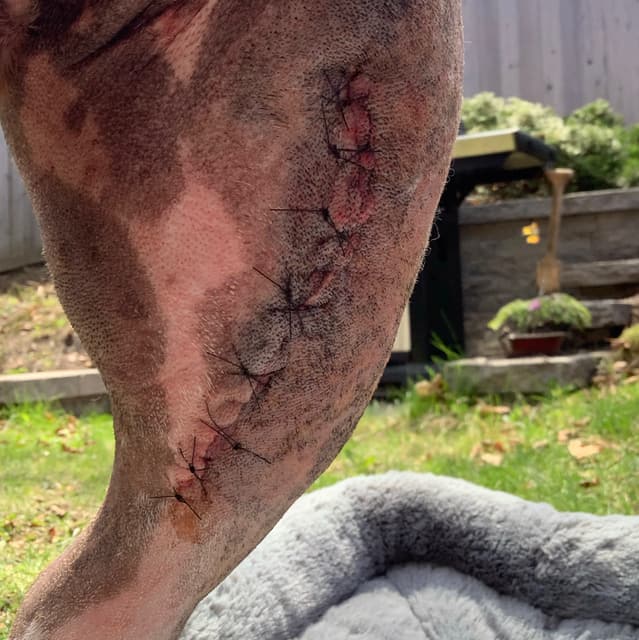
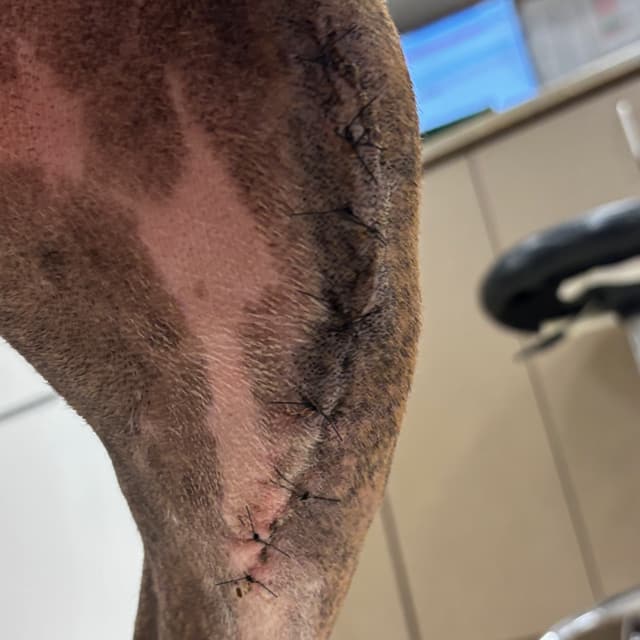
Weeks 3-7Tunnel squat setup, circle handling, and exercise library links
Leash walks during this stage
- Week 35 min, twice daily
- Week 410 min, twice daily
- Week 515 min, twice daily
- Week 620 min, twice daily
- Week 725 min, twice daily
Use each walking target only if the walk stays slow, controlled, and comfortable.
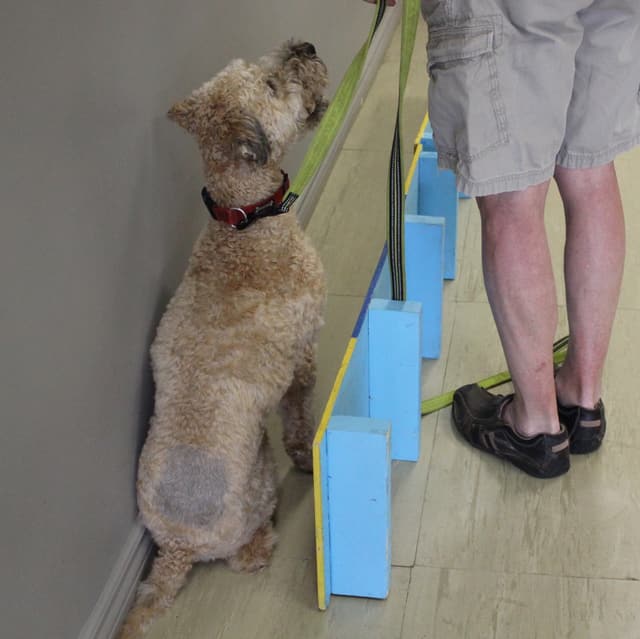
Tunnel squat setup
Find a width where your dog hesitates slightly but can still sit safely. A little hesitation is useful; twisting, rushing, refusal, or soreness means it is too narrow.
Big circles vs small circles
Big circlesYou stay on the inside of the circle, with your dog on the outside of the turn.
Small circlesYou stay on the outside of your dog and keep the tighter turn slow.
Keep circles and figure 8s slow enough that your dog walks instead of trotting, pivoting, or rushing through the turn.
Open the exercise library
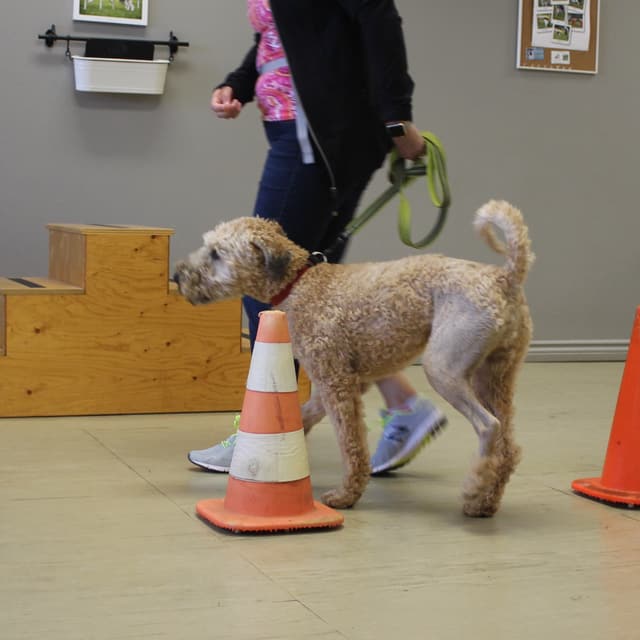
Stair flight clearanceA few entry steps are different from full household flights
A few porch or front-door steps needed for toileting. Keep the leash on and keep sling/towel support on the dog every time; go one step at a time.
Repeated steps between floors. Add these only after stair flights are approved from the video check-in and only if recovery is controlled.
Over 55 kgVideo check-in at Week 4; flights only if approved.
55 kg or lessVideo check-in at Week 6; flights only if approved.
Until video clearanceEntry steps only, with leash and sling/towel support.
Once flights are approved
- Put the leash on before your dog reaches the stairs.
- Use sling or towel support if needed.
- Go one step at a time.
- No stair repeats, rushing, jumping, skipping steps, or playing on stairs.
Suggested video: one-step-at-a-time control on the stairs and whether the dog looks rushed, crooked, or unsafe.
Week 8 and until X-ray clearanceUnlimited controlled leash walks, approved stair flights, and no high-impact activity yet
How clearance is usually decided
After the Week 8 update or video is reviewed, the surgical team looks at comfort, limb use, activity tolerance, medication requirement, and overall recovery progression before scheduling the sedated recheck X-rays.
Sedated recheck X-rays and clearance are planned at 10–12 weeks. The exact date within that window depends on comfort, limb use, activity tolerance, medication requirement, setbacks, and the surgical team's review of recovery progress.
What to keep doing
Controlled leash walks can be unlimited until clearance if your dog stays comfortable and uses the surgical leg well. The restriction is the type of activity: no trotting, off-leash activity, running, jumping, ball play, or rough play yet.
- No trotting until cleared.
- No off-leash activity until cleared.
- No running, jumping, ball play, or rough play until cleared.
Related sections for this stage
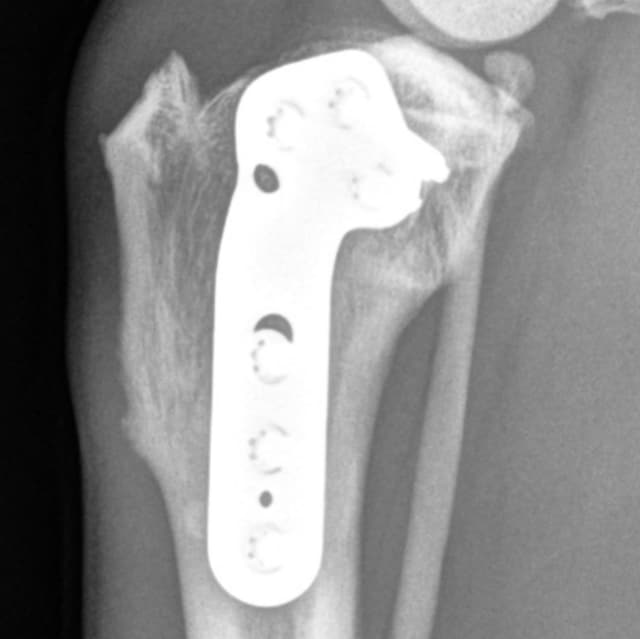
After X-ray clearanceGradual return to more normal activity
Gradual return to normal activity
Once your dog has been cleared to progress after the recheck X-rays, activity can be increased slowly. The goal over the next few weeks is to move from structured rehabilitation back toward normal pet activity, while avoiding sudden high-impact exercise.
Start by increasing walking distance and adding short periods of controlled trotting. Increase only one thing at a time: distance, speed, hills, play, or exercise difficulty.
- If your dog becomes more lame, stiff, sore later that day, or worse the next morning, reduce activity.
- Return to the previous comfortable level for several days before trying again.
- Increase only one category at a time instead of changing distance, speed, hills, play, and exercises together.
- The knee keeps healing and remodeling for several more months, even when your dog feels much better.
- Use fish oil or omega-3 support only if it has been recommended.
For most family pets, you do not need a strict rehab routine forever, but ongoing strength work is still helpful. During walks, include gentle hills or figure 8s. At home, tunnel squats, gentle tug of war, backing up, balance work, or a few controlled sit-to-stands before meals can help maintain strength and coordination.
If one activity causes soreness
Send a video if one activity reliably causes soreness. Include recurrent swelling, knee sensitivity, worsening lameness, or avoiding weight-bearing in the update.
Support topics for this stage
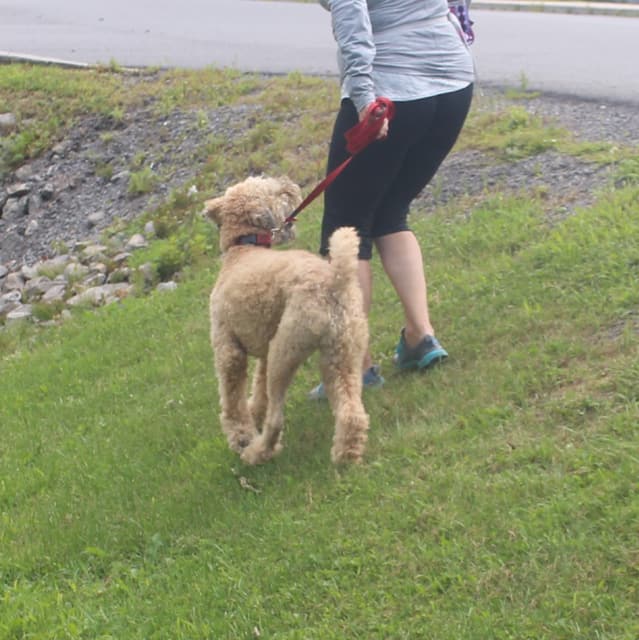
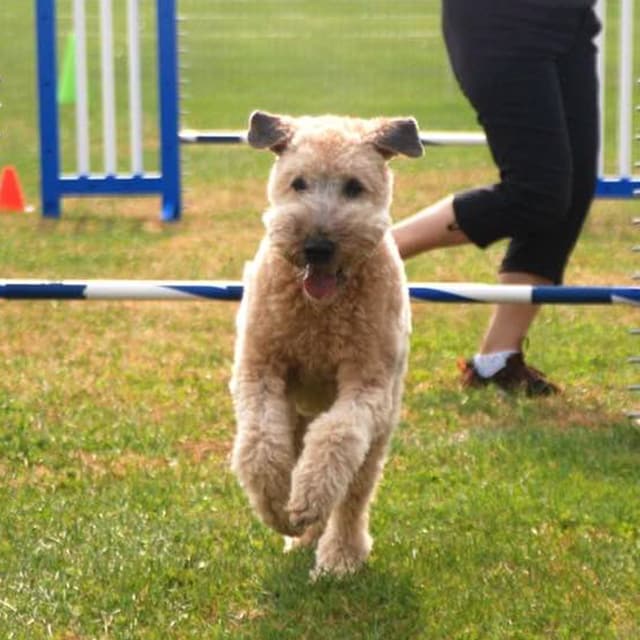
Support question
Fish oil or omega-3 support
Use this only if omega-3 support has been recommended.
What about fish oil or omega-3s for arthritis support?Use the calculator only if omega-3 support has been recommended.
Check this:
- TPLO can improve stability and comfort, but it does not remove arthritis.
- The product label needs separate EPA and DHA amounts.
- Use the calculator only when fish oil or omega-3 support has been recommended.
Exercise library
How to do each exercise
Open the exercise name from the weekly plan. Each card shows the dose, what the exercise is trying to do, how to set it up, and what to send if you are unsure.
Short leash walks / leash walksToileting only at first, then controlled walking time
Do it like this
- Use a short leash and put it on before doors open.
- Walk slowly enough that your dog does not hop, pull, or trot.
- Keep turns wide and the route predictable.
Send a short side-view walking video if your dog is carrying the leg, using it less, or looks worse after walks.
MassageEarly comfort work around the limb, not over the incision
Two massage options
- Swelling direction: use very light superficial strokes in a proximal direction, meaning away from the paw and toward the body. Around the stifle and distal thigh, stroke toward the back of the knee and groin area.
- Thigh and hip comfort: use light open-hand strokes around the thigh and hip muscles, moving toward the body.
- Lift and reset your hand between strokes. Do not massage down the limb toward the paw.
- Stay away from the incision, scabs, sutures, and the front of the knee.
- Stop before your dog becomes restless or annoyed.
Suggested video: hand position, light pressure, stroke direction, and when to stop if the dog resists.
Passive range of motion / bicycle motionGentle joint movement early in recovery
Do it like this
- Support the leg and move slowly through a small comfortable range.
- Include the hip, knee, hock, and toes.
- For bicycle motion, keep it slow and smooth.
Send a short video if the motion seems painful, guarded, or your dog is worse afterward.
Tripod balanceFront-foot hold during the early protected phase
Do it like this
- Use non-slip flooring and keep your dog calm and standing square.
- Lift the front foot your plan names.
- Support your dog lightly if needed, but do not force the hold.
Send a rear-view video if your dog wobbles, slips, panics, avoids the surgical leg, or seems sore afterward.
Tunnel squatsNarrow setup to encourage straighter sitting
Do it like this
- Use a wall, couch, hallway, or safe barriers to make a narrow space.
- Put the surgical leg beside the wall or solid side when possible.
- Narrow the space if your dog sits wide or shifts away from the surgical leg.
Find the right width
- A slight hesitation before sitting is useful.
- Too wide: your dog drops into a crooked sit without thinking.
- Too narrow: your dog refuses, twists, rushes, becomes sore, or cannot sit in control.
Send a rear-view tunnel squat video if you are unsure. Include both hind legs and the full setup.
Big circlesLarge slow turns before tighter figure 8s
Do it like this
- Make the circle large and slow.
- Stay on the inside of the circle, with your dog on the outside.
- Go both directions.
- Keep your dog walking, not trotting.
Suggested video: circle size, direction changes, slow speed, and steady limb use.
Small circles and figure 8sProgression after big circles
Do it like this
- Use cones, chairs, or markers to make a clear path.
- For small circles, stay on the outside of your dog.
- Keep speed controlled even when the pattern gets tighter.
- Return to bigger circles if your dog looks sore or uneven.
Send a video if one direction looks much harder or causes soreness later.
When to contact us
If the rehab pattern no longer fits
Use the weekly plan first, then send the specific photos or videos requested in the matching exercise or stage. Contact the hospital rather than waiting for an email reply if lameness is worsening, your dog carries the leg, pain is increasing, swelling or heat is increasing, the incision opens or drains, licking cannot be stopped, or a setback does not settle with a quiet reset.